|
Get Started: |
|
| |


|
l
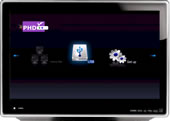
After PHD-HM5 powered up, it will take
several seconds to boot-up to operation
mode. Unit will show "BOOTING UP" screen
and "PHD Loading" screen during this
booting.
Note: Click
pictures on left side to view more
details. |
| |

|
l
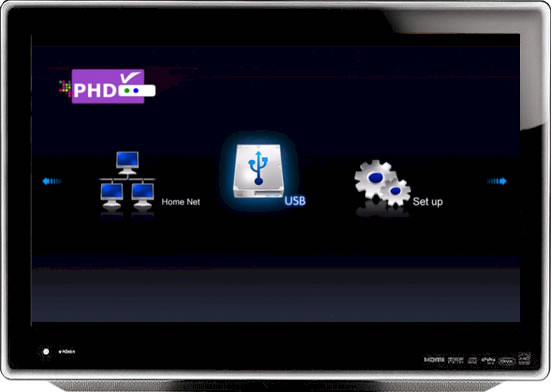
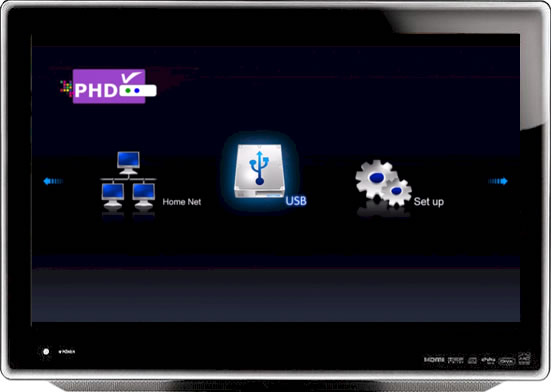
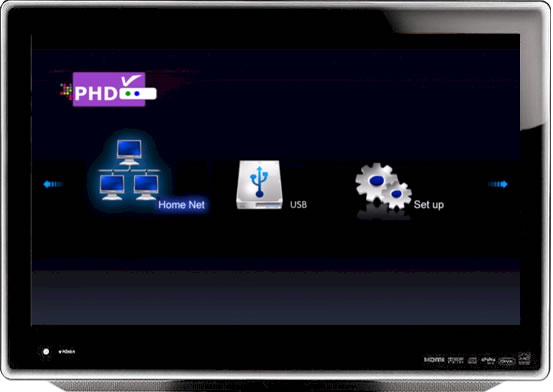
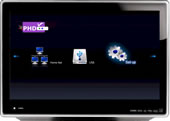
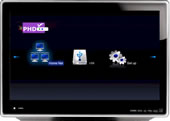
Depending on initial input connections,
if user connects both USB device and
network, the menu screen will show all
three icons. Otherwise, one icon will be
grey out. |
|
|
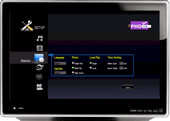
Set Up Menu: |
l
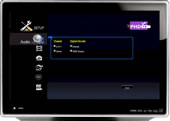
Use remote control Navigation RIGHT key
to move to "SETUP" icon, which will be
highlighted. Press "OK" key on remote
control to enter sub-menu.
l
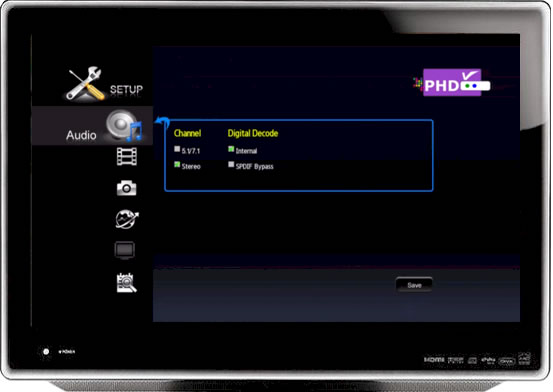
The first "Audio" icon is highlighted.
User can either select Dolby 5.1/7.1
or Stereo audio channel output.
And select Internal Digital
Decode to output from R/L connectors and
HDMI, or select SPDIF Bypass to
output from TOSLINK (optical) connector
and HDMI. |
| |
|
|
|
|
[
Top Page] |
| |
 |
l
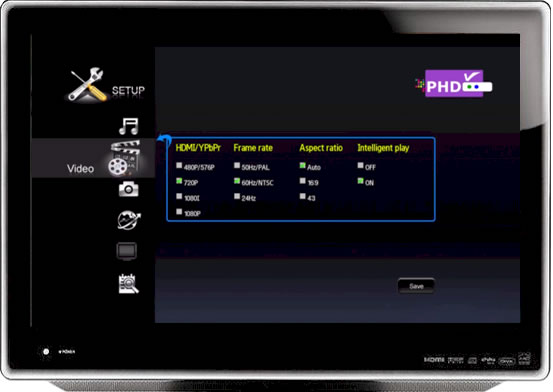
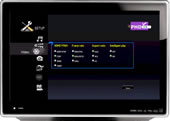
Move to the next "Video" icon so
user can fine-tune different
video settings.
v
HDMI/YPbPr: User can
select video resolution from
480p to 1080i when using
Component (Y-Pb-Pr) as video
output. Or select any resolution
(up to 1080p) for HDMI use.
v
Frame rate: For US
system, need to select 60Hz/NTSC
option.
v
Aspect ratio: Default
value is "Auto". User can change
aspect ratio anytime when press
"IMAGE CHANGE" key on remote
control.
v
Intelligent play: Default
value is "ON".
|
 |
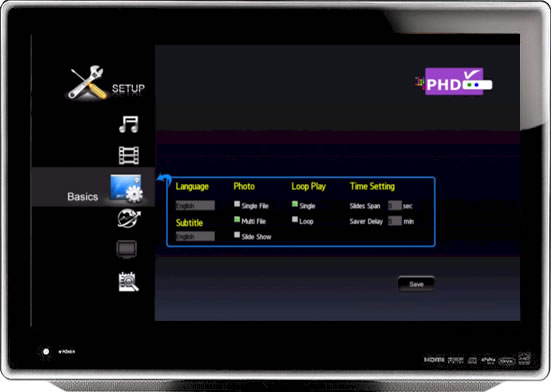
l
Move to the next "Basics" icon
so user can fine-tune more
different settings.
v
Language: Default is
English.
v
Subtitle: Default is
English. User can select
different subtitles layer by
pressing "SUBTITLE" key on
remote control if subtitle is
available.
v
Photo: Default is Multi
File so user can display many
different picture files.
v
Loop Play: Select "Loop"
to keep playing same file.
v
Time Setting: More
controls on setting different
times on picture slides and
screen saver.
|
|
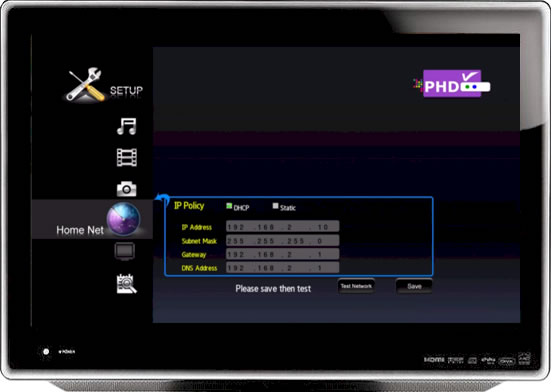
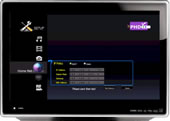
l
Move to the next "Home Net" icon
to set up IP address for network
connection.
For local home network, like
other PC network device, user
can choose either DHCP or Static
IP address. Then move to "Test
Network" button to detect,
automatically select and test
the IP address valid or not.
Finally move to "SAVE" button
and enter OK to memorize the new
IP settings. |
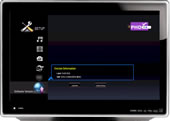 |
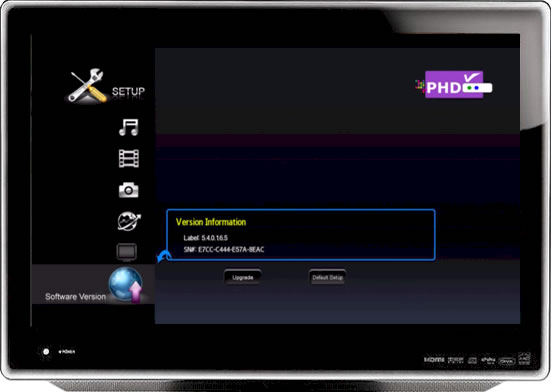
l
Move to the next "Software
Version" icon to upgrade new
firmware.
Once select "Upgrade" button,
PHD-HM5 will try to search
available firmware (bin) file on
USB ports. If it finds the
correct matched version, it will
prompt user to upgrade or cancel
the action. Press OK key on
remote to upgrade new firmware.
Follow the process in Firmware Downloads
section
to complete the firmware
upgrading process. |
| |
|
|
|
|
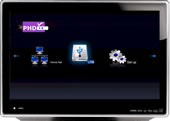
USB Menu: |
[
Top Page] |
| |
|
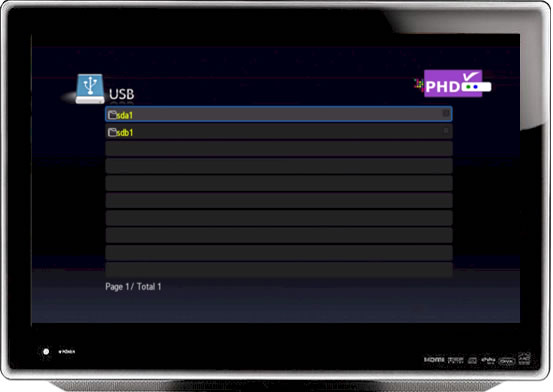
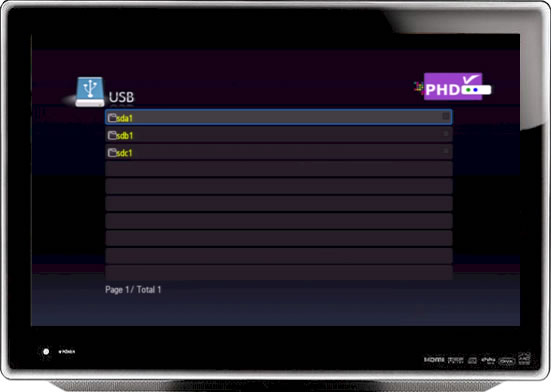
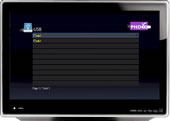
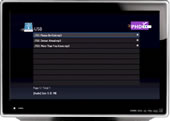
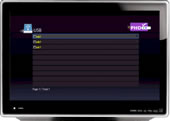
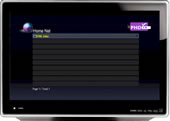
l
Use remote control Navigation key
to move to "USB" icon, which will be
highlighted. Press "OK" key on remote
control to enter sub-menu.
l
Sub-menu shows which USB devices
connected to PHD-HM5 and automatically
assigns device names like, sda1, sdb1,
etc. |
| |
Playing
Video Files: |
|
| |
 |
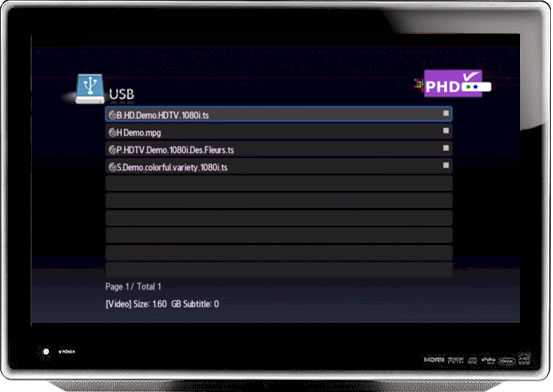
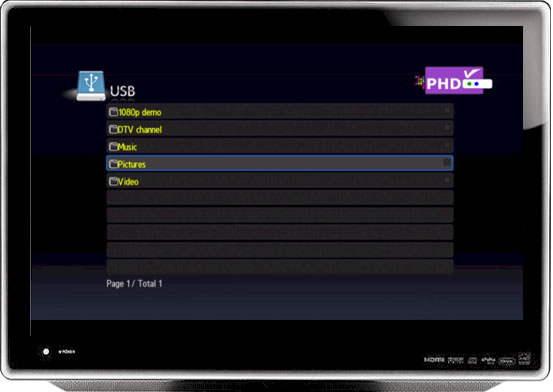
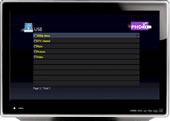
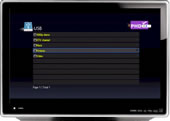
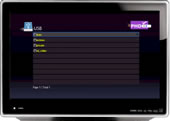
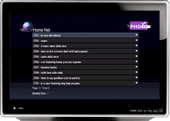
l
Use Navigation key to select device and
enter to its folders for examples,
"1080p demo" or "Music".
l
Choose "1080p demo" for an example.
Press OK to enter and show all available
files.
l
Press OK key again to play the specific
file. Also, user can move to right side
and check the small white box to pick
the files only needed to play. |
| |
|
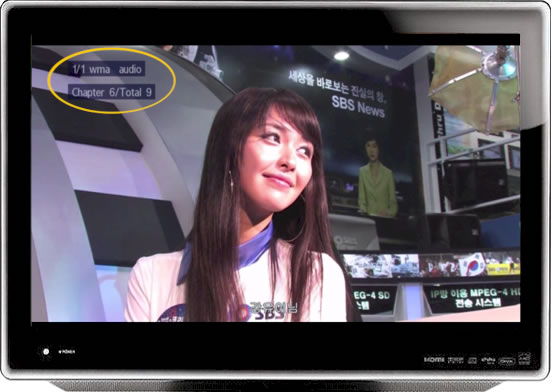
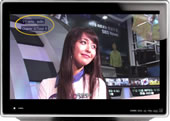
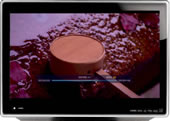
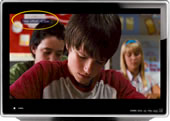
l
After the video file is played,
PHD-HM5 will show the numbers of
audio tracks, content name and
how many chapters (files) in the
current folder with which
chapter (file) is currently
showing on top left corner of
screen.
|
| |
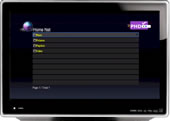
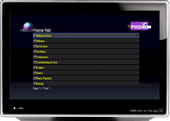
Playing Music Files: |
|
|
| |
 |
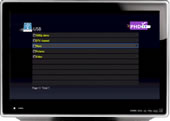
l
Use "BACK" key a few times to return to
folder screen and select "Music" folder
with OK key.
l
PHD-HM5 shows current available music
files.
l
By selecting the file or check the small
white box on the right side to listen
the desired music files. |
| |

|
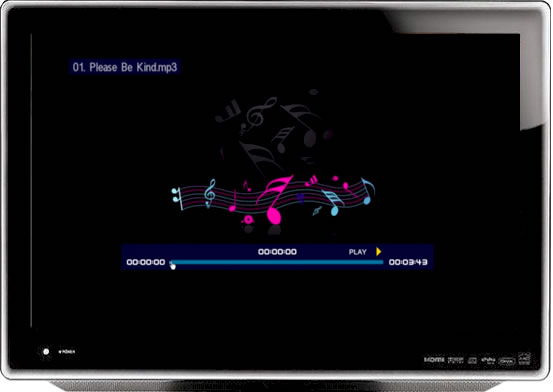
l
Music screen will be like that.
PHD-HM5 will show the current
music file name and time bar
progress.
l
User can use Navigation LEFT and
RIGHT keys as SEEK function to
move forward and backward to
certain point and press OK to
listen music up to that point. |
| |
Displaying Picture Files: |
[
Top Page] |
|
| |
|
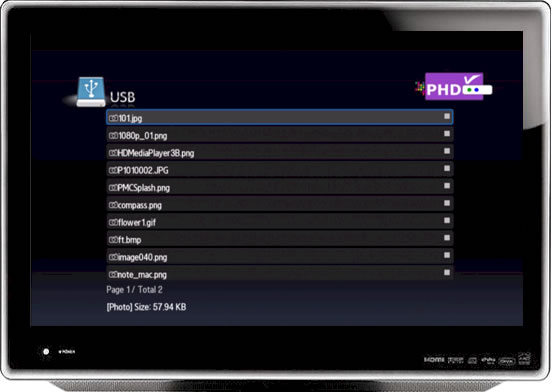
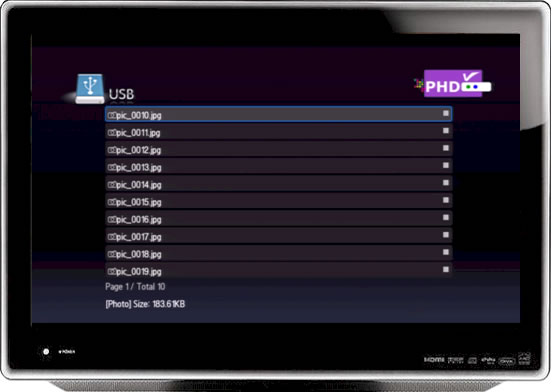
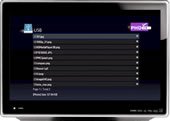
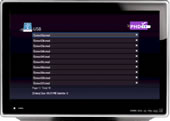
l
Use "BACK" key a few times to return to
folder screen and select "Pictures"
folder then press OK key.
l
PHD-HM5 shows current available picture
/ photo files.
l
Then selecting desire files to view
pictures and photos on TV screen. |
| |
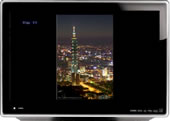 |
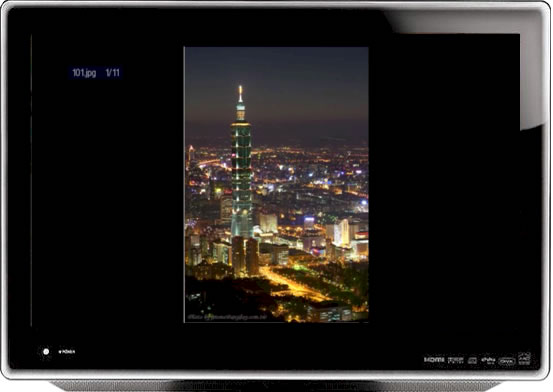
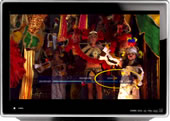
l
See the example of picture
showing on TV screen.
l
During the SETUP menu -> Basics
-> Photo, if select "Slide Show"
option, PHD-HM5 will continue
display all photos as slide show. |
| |
|
|
|
| |
Displaying with Digital Camcorder or
Camera: |
|
| |
|
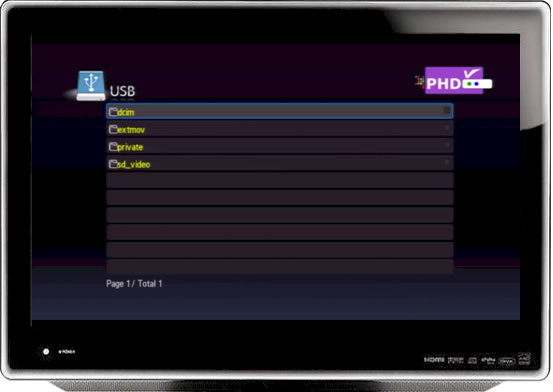
l
User can easily connect digital camera
or camcorder to one of USB port of
PHD-HM5. After a few seconds, unit
detects new USB device and shows new
device names and new folders. |
| |
|
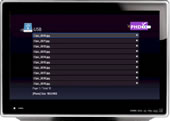
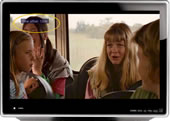
l
If connecting to digital camera, find
the folders contains all photo files and
press OK key to view individual photo or
do slide show.
l
If connecting to digital camcorder, find
the video file (for example, *.MOD in
this case) to display all video files on
TV screen. |
| |
Combining SEEK, Fast-Forward,
TIME code, and Chapter Jump features: |
| |
|
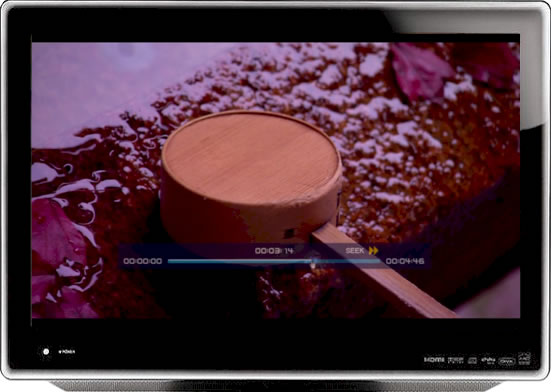
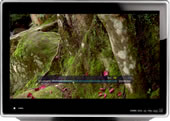
l
Anytime during video/movie playing, user
can press PAUSE key to pause video.
Screen will show time bar with current
time code point and complete duration of the
video.
l
Then user can press Navigation LEFT and RIGHT
keys as SEEK function to quickly search
and move to any time code point of
current video.
l
Combining FF key (x2 ~ x32) with SEEK >>
and back SEEK << to easily find any
point of the video.
l
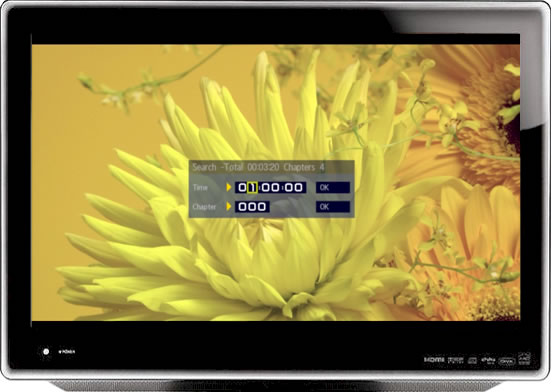
User can also use TIME key on remote
control to bring up and enter proper
time code value or chapter number so
PHD-HM5 can display video to that point
or chapter (file) accordingly. |
| |
 |
| |
|
[
Top Page] |
| |
Remedy of Lip-sync problem: |
|
| |
|
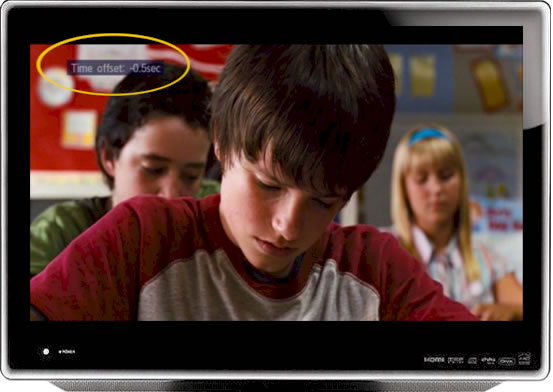
l
PHD-HM5 has an unique feature to allow
user to adjust subtitle text and
in-sync with movie speech. Hence to take
care so-called lip-sync problem if ever
occurred.
l
When watching movie, if subtitle is
available, user can press remote control Navigation UP
and DOWN keys to
adjust "Time Offset" value by 0.5 second
increment each time. |
|
|
Home Net Menu: |
|
| |
|
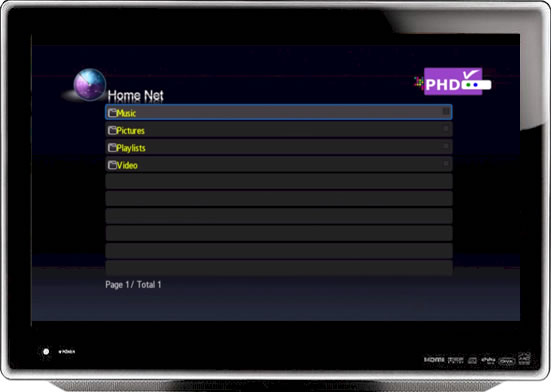
l
PHD-HM5 provides network
connectivity, which can play and
share media files from other PC
of your local home network
without copying files to USB
drives.
l
If Ethernet port is connected,
then move to "Home Net". The
icon will be turned on and
highlighted.
l
Press OK key to enter Home Net
sub-menu, it will show network
device name(s), typically, your
other local PCs on the net. In
this case, it is EP88. |
|
| |

|
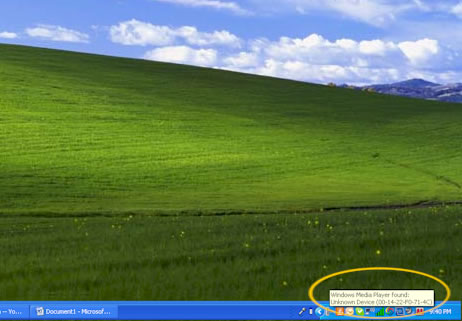
l
On your PC side, we recommend to
install Microsoft Windows Media
Player version 11. It can be
downloaded from Microsoft free.
This new version is more
intelligent to detect network
media devices such like PHD-HM5.
l
On Windows screen bottom
toolbar, PC detects unknown device on
the net.
l
After clicking, the pop-up
screens are further asking to allow
sharing and confirm the unknown device.
Once it is confirmed, PHD-HM5 will
immediately access and share media files
from this PC.
l
Furthermore, if PC installed
other media server program like
"TwonkyMedia Manager", which can further
connect to Internet to access certain
public media files, too.
|
| |

|
| |
|
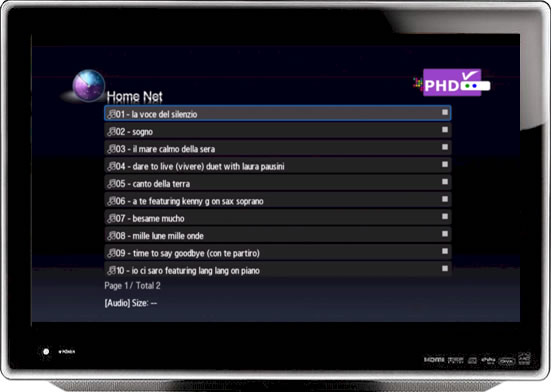
l
After this point, each
sub-folder will be similar like from USB
device.
l
User will be able to select the
desired video, movie, music and photos
to view.
l
Since the speed of Ethernet is
10/100M, the data transfer speed is fast
enough, PHD-HM5 can play HD video from
net work smoothly. |
| |
 |
|
| |
|
[
Top Page] |
| |
|
|